简介
Elastic官网:https://www.elastic.co
Elastic Github:https://github.com/elastic
- Elasticsearch: 全文搜索引擎
- Kibana:可视化分析平台
- Filebeat:日志采集
安装
Elasticsearch
1 | brew install elastic/tap/elasticsearch-full |
Kibana
1 | brew install elastic/tap/kibana-full |
Filebeat
1 | brew install elastic/tap/filebeat-full |
配置
配置Filebeat
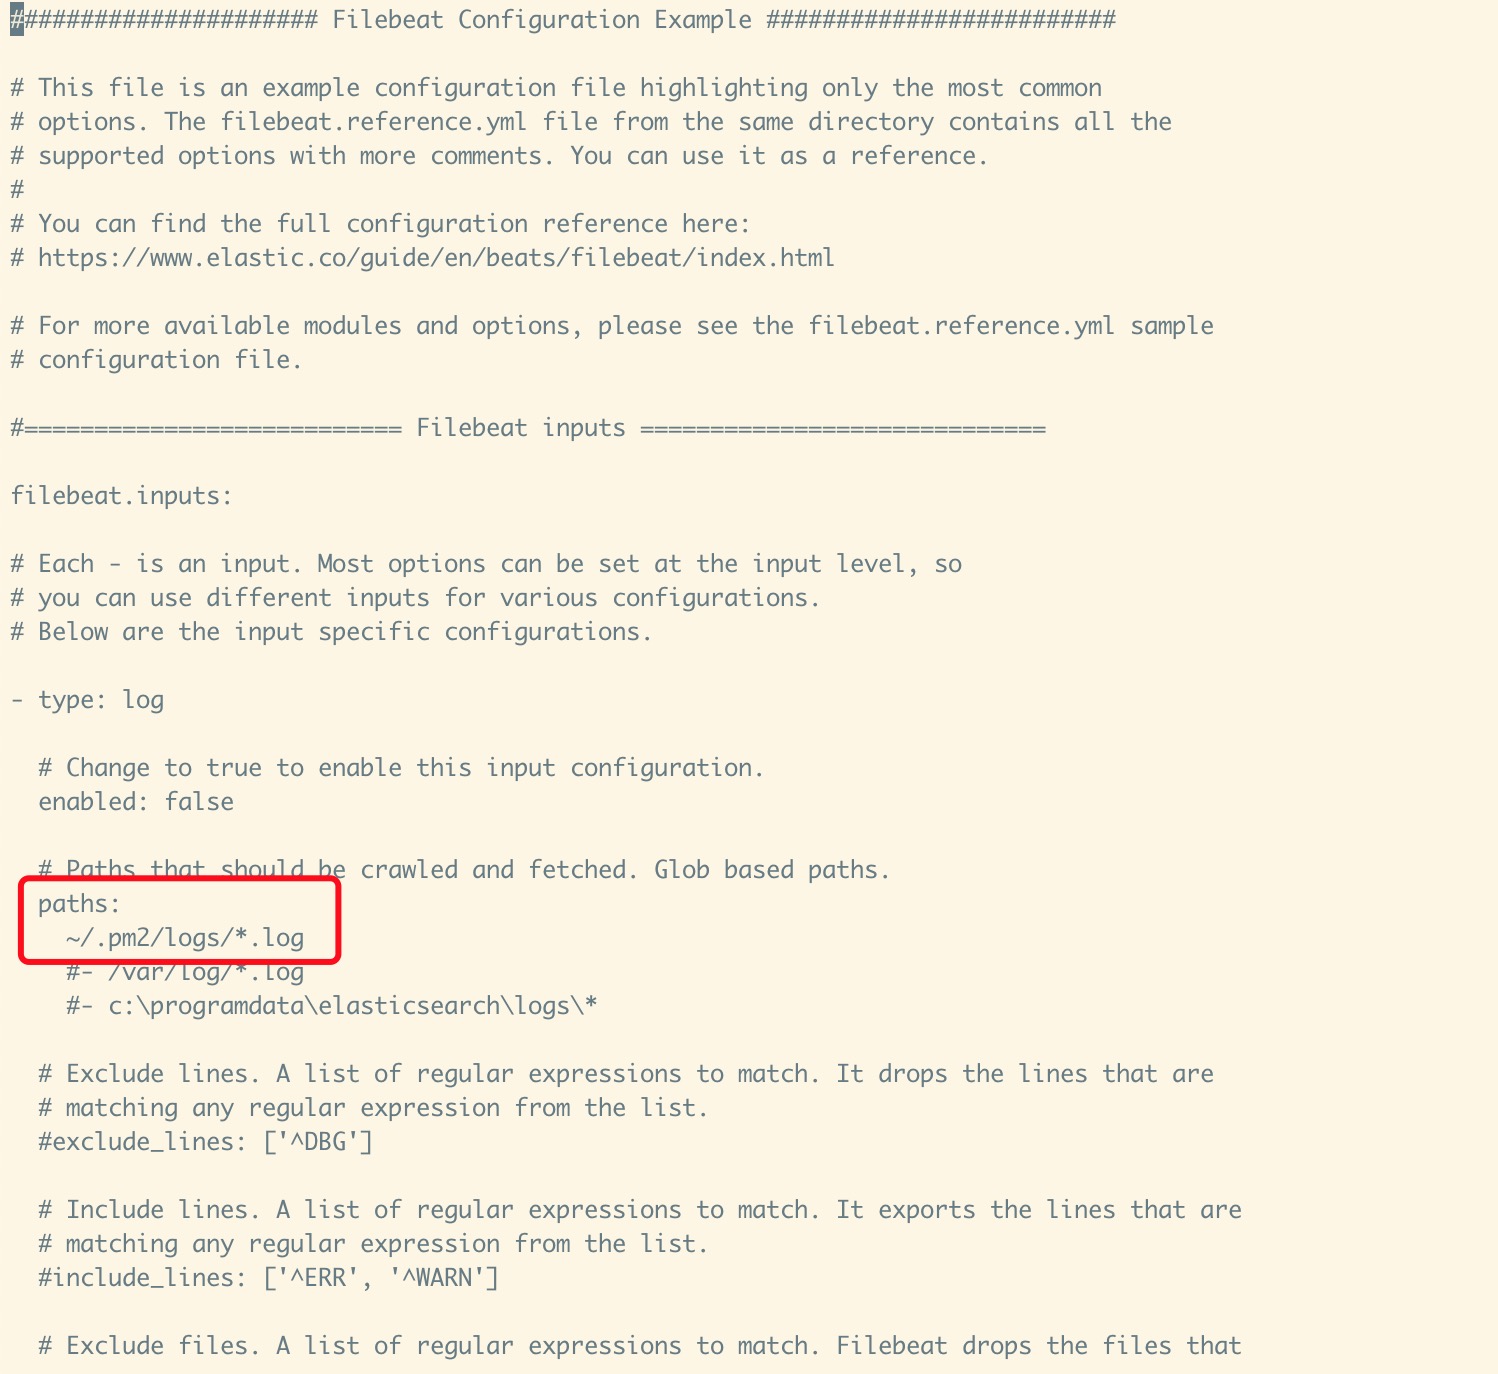
匹配要输入的Log文件路径
1 | vim /usr/local/etc/filebeat/filebeat.yml |
开启Kibana中文
打开配置文件,将i18n.locale的注释去掉,改成zh-CN
1 | vim /usr/local/etc/kibana/kibana.yml |

启动
前台启动
需要3个终端窗口,分别启动
1 | filebeat -e -d "publish" |
后台启动
1 | nohup filebeat -e -d "publish" >/dev/null 2>log & |
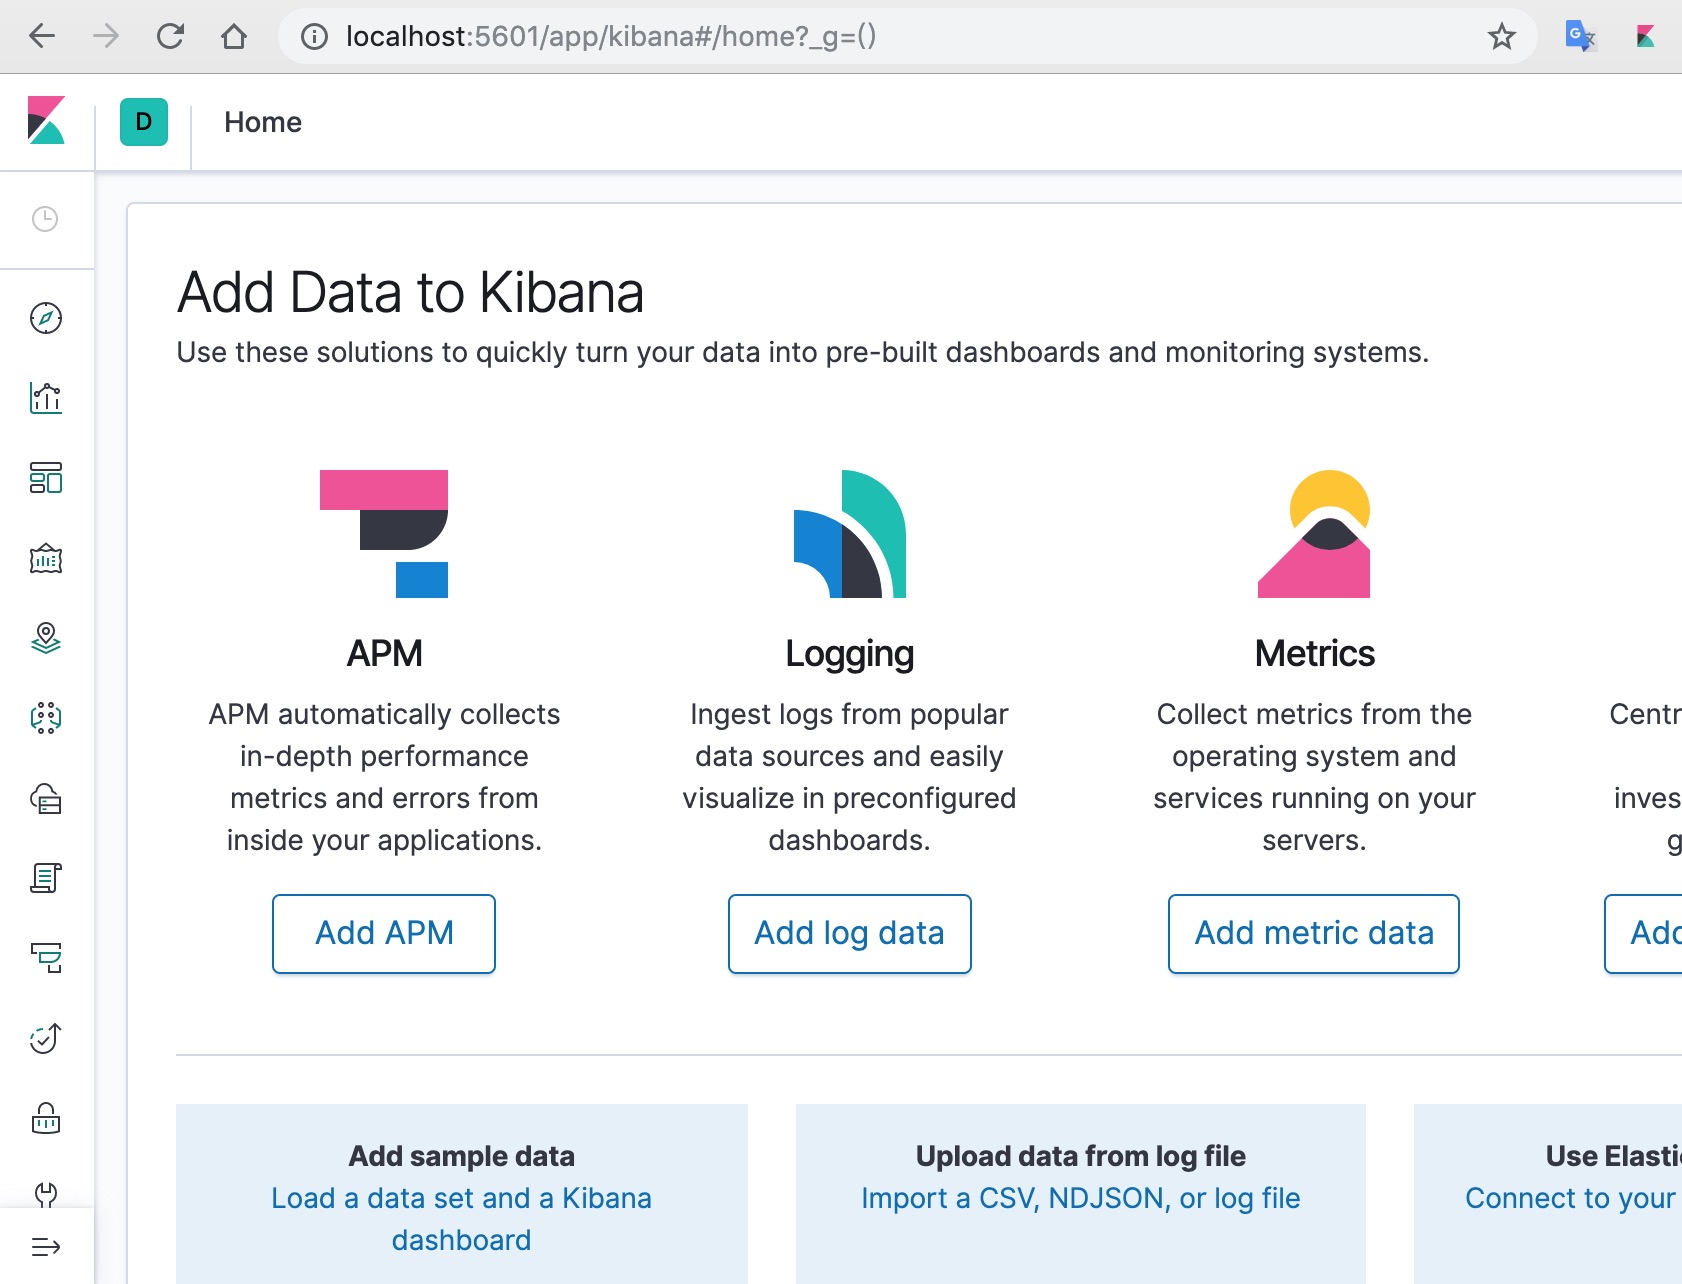
全部启动完成后,打开浏览器访问 http://localhost:5601
*添加Apache日志
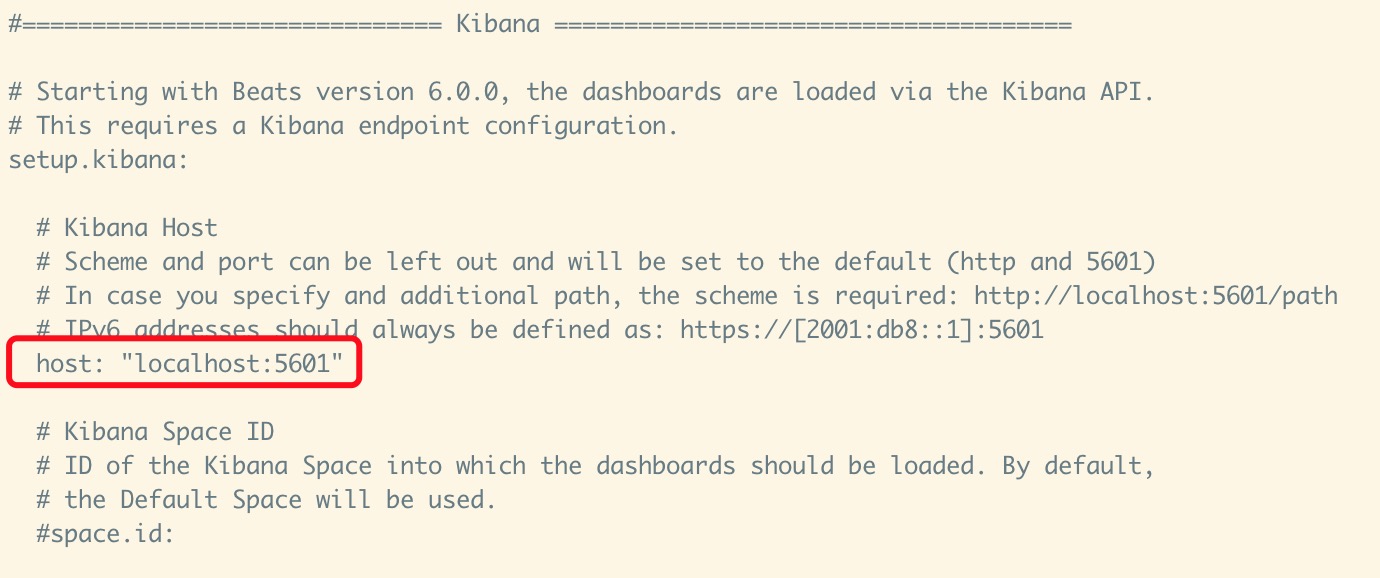
将setup.kibana中的host注释去掉
1 | vim /usr/local/etc/filebeat/filebeat.yml |
开启Apache
1 | filebeat modules enable apache |
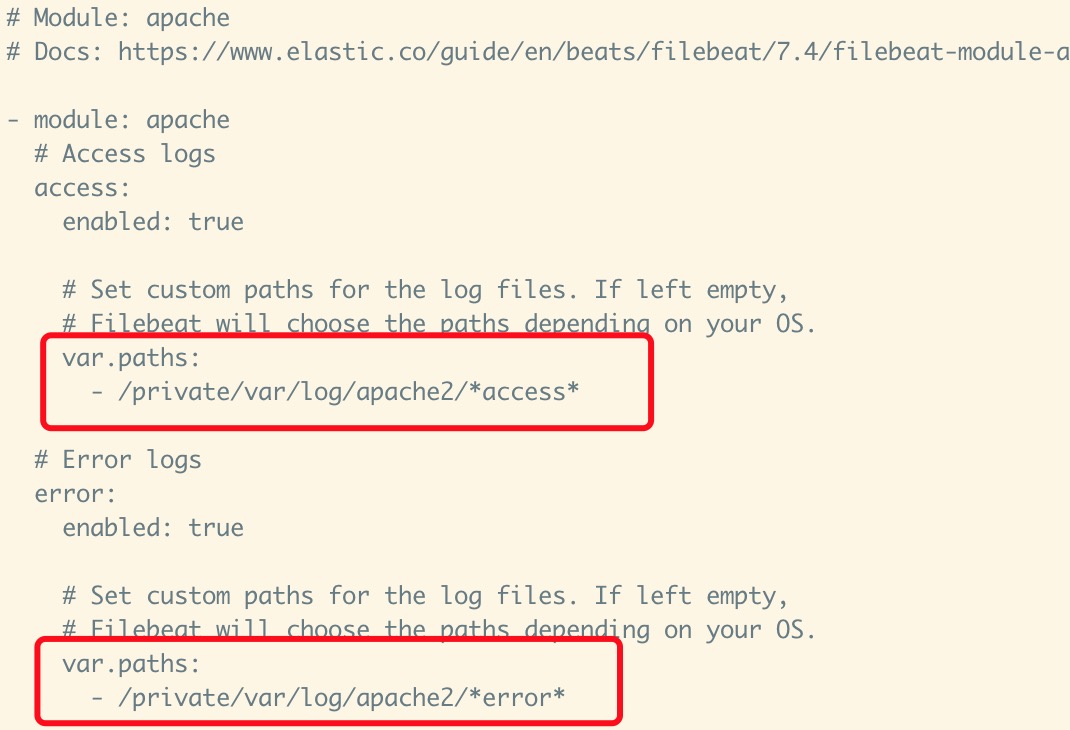
修改apache的Log路径
1 | vim /usr/local/etc/filebeat/modules.d/apache.yml |
Related Issues not found
Please contact @xiandanin to initialize the comment